João GabrielFebruary 27, 2024
Shaders in SwiftUI: Marquee
Learn how you can effortlessly create an efficient and reusable marquee effect with a custom Metal shader for SwiftUI Texts and other views.
Hello! And welcome back to one more of our shader tutorials.
This time, we'll be taking a look at how to use a distortion shader to create a marquee effect in SwiftUI. If you're not familiar with shaders or you're not sure what a distortion shader is, please check out our previous tutorial on the subject.
History time
Marquees, text tickers, text crawls or zippers are a design element that are hard to miss – and show up in more ways than you could think. Fundamentally, they serve the purpose of displaying content that's too long to fit in a single line on a limited space. Digitally, one of the first notable uses of a ticker was in Times Square, with a 368-foot-long electric bulletin board known popularly as the Zipper.
At the time it was mostly usesd to deliver news and stock market information, but it quickly became an iconic element – nowadays, tickers are still used in many places, including digitally as in news channels and service announcements.
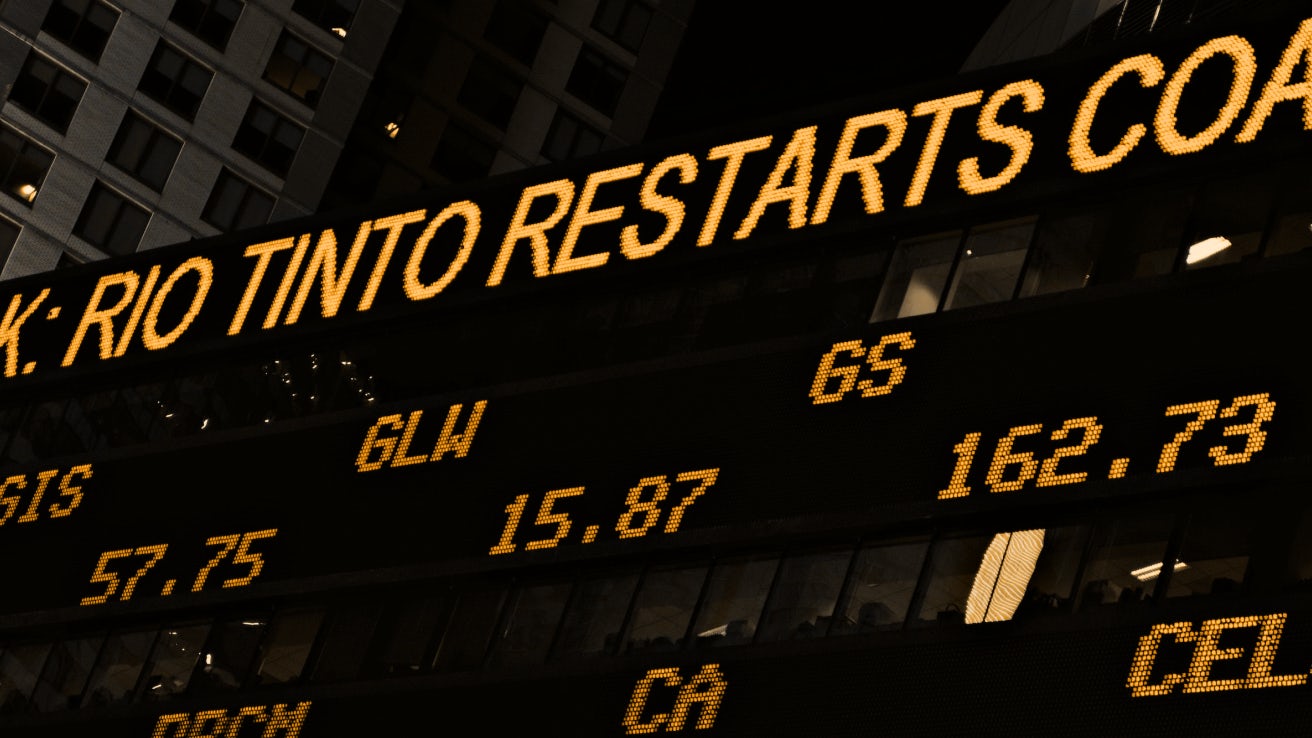
Image source: Oren Elbaz on Unsplash
Curiously, this effect is available natively in web browsers with the <marquee> tag, which is still mostly supported but not recommended for wide use.
<marquee> this is <i>marquee in the web</i> </marquee>Most notably, this marquee effect can be seen in modern UI design in a few places, including on music players such as Spotify in iOS and macOS (usually for displaying song titles in a single line):
And, of course, in the Stocks app (which is personally one of my favorite uses of it):
Getting to work
Now let's get to how we can implement marquee in SwiftUI.
As seen in our previous tutorial, we can use a distortion shader for this kind of task – so there's no need to review the specific syntax and inner workings of that. Also, we'll be reusing some of the content covered in the tutorial linked above.
Open your existing Xcode project or create a new one, and then create a new Metal file named marquee.metal. Then, add the boilerplate code for a distortion shader:
marquee.metal
#include <metal_stdlib>

using namespace metal;

[[ stitchable ]] float2 marquee(float2 position) {
    return position;
}
Great! Now, let's create a SwiftUI view to test it with:
ContentView.swift
struct ContentView: View {
    let startDate = Date.now

    var body: some View {
        TimelineView(.animation) { context in
            HStack(spacing: 12) {
                Image(systemName: "staroflife.fill")
                    .foregroundStyle(Color.orange)
                Text("shaders are really cool actually".uppercased())
                    .fixedSize()
            }
            .font(.system(size: 32, weight: .bold))
            .kerning(-1.2)
            .compositingGroup()
        }
        .foregroundStyle(.white)
        .padding(.vertical, 8)
        .background(.black)
    }
}
This SwiftUI view produces a star icon and a text label with a fixed size, which causes the view to go off bounds. We've also already wrapped the view in a TimelineView and added some styling. Now, let's modify the shader code to start animating our view by displacing it horizontally, and let's amplify the time by 50 so that it doesn't go as slow as a turtle:
marquee.metal
[[ stitchable ]] float2 marquee(float2 position, float time) {
    return float2(position.x+time*50, position.y);
}
This code makes it so that, as time passes, the position of each individual pixel shifts to the left.
As you can see in the code above, we've added a time parameter to the function, which we'll use to animate the view. Now, let's add the shader to our SwiftUI view, passing that parameter:
ContentView.swift
// Add this under the .compositingGroup() modifier
.distortionEffect(ShaderLibrary.marquee(.float(context.date.timeIntervalSince(startDate))), maxSampleOffset: .zero)
Hooray! Our text now moves. However, as you might have noticed, it's not looping around – which is our intended effect after all. Thankfully, the Metal Standard Library provides us with a modulo function that solves this for us: fmod().
The fmod() function takes parameters x and y and is defined by x - y * trunc(x/y) and it returns the floating-point remainder of x/y. Therefore, its value never exceeds y in magnitude. The sign of the result, however, is the same as the sign of the dividend x.
If you want to read more about it, you can find out more in the Metal Shading Language and the Metal Standard Library specification here. fmod() is specified on page 162.
Let's use it to make our text loop around:
marquee.metal
[[ stitchable ]] float2 marquee(float2 position, float time) {
    return float2(fmod(position.x+time*50, 100), position.y);
}
Great! Now, we can run it.

sh..?
This works! But, of course, looping at 100 pixels is a mere placeholder. Let's replace it with another parameter, and let't call it phase:
marquee.metal
[[ stitchable ]] float2 marquee(float2 position, float time, float phase) {
    return float2(fmod(position.x+time*50, phase), position.y);
}
Also, since we want it to work with negative offsets, let's make sure to fix the displacement in those cases by adding one phase to it (otherwise the view would stay forever off bounds):
marquee.metal
[[ stitchable ]] float2 marquee(float2 position, float time, float phase) {
    float x = fmod(position.x+time*50, phase);
    if (x < 0) {
        x+= phase;
    }
    return float2(x, position.y);
}
And now, let's grab the width of our view programatically. That's not ideal – but since we want our view to be reusable and handle any type of content, we can do that with a GeometryReader.
PS: in case you can calculate the width of your view, you could just pass it as a parameter to make the effect more efficient.
ContentView.swift
struct ContentView: View {
    let startDate = Date.now

    @State var size: CGSize = .zero // First, we declare a state variable to hold the size of our view

    var body: some View {
        TimelineView(.animation) { context in
            HStack(spacing: 12) {
                Image(systemName: "staroflife.fill")
                    .foregroundStyle(Color.orange)

                Text("shaders are really cool actually".uppercased())
                    .fixedSize()
            }
            .font(.system(size: 32, weight: .bold))
            .kerning(-1.2)
            .background {
                // Use an empty GeometryReader to grab the bounds of our view
                GeometryReader { geometry in
                    Color.clear
                        .anchorPreference(key: BoundsPreferenceKey.self, value: .bounds) { geometry[$0] }
                }
            }
            // Then, store the size value from bounds
            .onPreferenceChange(BoundsPreferenceKey.self) { size = $0.size }
            .compositingGroup()
            // We pass that value's width property here, adding 12 to account for spacing
            .distortionEffect(ShaderLibrary.marquee(.float(context.date.timeIntervalSince(startDate)), .float(size.width+12)), maxSampleOffset: .zero)
        }
        .foregroundStyle(.white)
        .padding(.vertical, 8)
        .background(.black)
    }
}

// Don't forget to declare the preference key
fileprivate struct BoundsPreferenceKey: PreferenceKey {
    static var defaultValue: CGRect = .zero

    static func reduce(value: inout CGRect, nextValue: () -> CGRect) {
        value = nextValue()
    }
}
Notice how we're using a GeometryReader within a background modifier – that's because in SwiftUI, both backgrounds and overlays are applied after the view is computed – so they inherit their bounds but don't affect their layout.
Now, let's run our project:
Great! Our text is now looping around – and we've successly built a new Metal shader and integrated it with SwiftUI.
To make it even better, let's make it so that it also works with text that does not exceed the screen bounds. To do that, we gotta hack a bit: just add an invisible rectangle to fill any space left before applying the effect.
That way, it won't ever exceed its parent's width.
ContentView.swift
HStack(spacing: 0) {
    // Keep the previous content here
    // HStack, styling and GeometryReader

    // Add an invisible rectangle here
    Rectangle()
        .frame(height: 1)
        .opacity(0.01)
}
.compositingGroup()
// Apply the shader to the outermost view
.distortionEffect(ShaderLibrary.marquee(.float(context.date.timeIntervalSince(startDate)), .float(size.width+12)), maxSampleOffset: .zero)
I've tried using a Spacer() or an EmptyView() for that but they don't seem to work well with shader effects, so the Rectangle() view did the job.
There's still one big issue that might not be noticeable right away: the bounding box of our view is growing larger to accommodate the effect. This might interfere with our layout, for example if we use the view within a VStack. We can fix that by making the whole view an overlay of a clear container, and then setting a fixed height to stop it from expanding vertically.
That way, it won't ever exceed its parent's width.
ContentView.swift
Color.clear
    .overlay {
        // Add view here
    }
    .frame(height: size.height) // Bound overall height to content height
Reusable modifier
If we want to turn this into a reusable modifier, this is how we may do so:
First, let's create a new file called View+Marquee.swift and add the following code:
View+Marquee.swift
fileprivate struct MarqueeViewModifier: ViewModifier {
    var speed: CGFloat
    var spacing: CGFloat

    @State var size: CGSize = .zero

    let startDate = Date.now

    func body(content: Content) -> some View {
        if speed == 0 {
            effect(content: content, time: 0)
        } else {
            TimelineView(.animation) { context in
                effect(content: content, time: context.date.timeIntervalSince(startDate)*speed)
            }
        }
    }

    func effect(content: Content, time: CGFloat) -> some View {
        Color.clear
            .overlay {
                HStack(spacing: 0) {
                    content
                        .background {
                            GeometryReader { geometry in
                                Color.clear
                                    .anchorPreference(key: BoundsPreferenceKey.self, value: .bounds) { geometry[$0] }
                            }
                        }
                        .onPreferenceChange(BoundsPreferenceKey.self) { size = $0.size }

                    Rectangle()
                        .frame(height: 1)
                        .opacity(0.01)
                }
                .compositingGroup()
                .distortionEffect(ShaderLibrary.marquee(.float(time), .float(size.width+spacing)), maxSampleOffset: .zero)
            }
            .frame(height: size.height)
    }
}

fileprivate struct BoundsPreferenceKey: PreferenceKey {
    static var defaultValue: CGRect = .zero

    static func reduce(value: inout CGRect, nextValue: () -> CGRect) {
        value = nextValue()
    }
}
This modifier encapsulates the logic we've written before, and it also adds new spacing and speed properties so you can customize those. If the speed is set to 0, the modifier won't create a TimelineView to reduce CPU load.
Finally, let's add makle it public with an extension to View:
View+Marquee.swift
extension View {
    func marquee(speed: CGFloat = 1, spacing: CGFloat = 12) -> some View {
        modifier(MarqueeViewModifier(speed: speed, spacing: spacing))
    }
}
Example use
Now that we have a modifier, let's work with it while composing a view similar to the music player shown before.
Let's just pretend this article is a song in a streaming app, and let's create a view that displays its title and author:
ContentView.swift
struct ContentView: View {
    var body: some View {
        VStack(alignment: .leading) {
            Text("Introduction to Shaders in SwiftUI: Wave Effect")
                .fixedSize()
                .font(.title3.bold())
                .mask(LinearGradient(stops: [.init(color: .clear, location: 0.0),
                                             .init(color: .black, location: 0.05),
                                             .init(color: .black, location: 0.95),
                                             .init(color: .clear, location: 1.0)], startPoint: .leading, endPoint: .trailing))

            Text("Cindori Blog • 12 min read")
                .foregroundStyle(.secondary)
                .font(.body.bold())
                .padding(.horizontal, 24)
        }
        .foregroundStyle(.white)
        .padding(.vertical, 32)
        .background(.linearGradient(colors: [.black, .blue], startPoint: .top, endPoint: .bottom))
    }
}
As you can see, our Text is making the view go off bounds. Let's fix that by adding our new marquee modifier to it:
ContentView.swift
// Below text content
.font(.title3.bold())
.marquee(speed: 0.8, spacing: 48) // Add marquee modifier here
And now let's run it:

Superb! It looks great and works nicely. Congratulations!
This effect will take your next designs far. And this is just the beggining – as an extra task you could find a way of retiming the animation so that it stops briefly when the text aligns to the start, and making it more accurate to what popular apps use.
Have fun creating!
João Gabriel
Cindori Developer